This month’s challenge was to make a quilt with creative borders and and binding. I wanted to use the Whispering Feathers 2 1/2″ strips that were designed by Kathy Engle. In order to do that, the main fabric in my borders could not be wider than 2 1/2″. No limits however on the background fabric. I used a neutral background called Almond.
The Rapid Fire Lemoyne Star ruler by Studio 180 Design was perfect to create a 9″ Lemoyne Star center. The star is made using 2 1/2″ strips and the background strip was cut 4″ wide. What I love about the Studio 180 rulers is that they make your quilting so accurate: you always make your units larger and then trim them down to perfection.

The end result is a great looking Lemoyne Star!
Background strips were added around my star to give it a floating look and so that I could adjust the size. The first border round was made with the Square² tool.
The Square² ruler makes units from a 1″ square to a 6″ square going up 1″ at a time. A new tool just released by Studio 180 Design now makes the 1/2″ increments, and there is a Large Square² that goes up to a 12″ finished block in 1″ increments. What ever your designing desire, Deb Tucker and her Studio 180 Design team have you covered.

I made 2″ Square² units and surrounded them with 1″ x 2″ Flying Geese units made with the Wing Clipper I tool also by Studio 180 Design. I love the zig zaggy look the two units made together.

I used a coordinating fabric to surround the first border, and used the Diamond Rects tool to make 2″ x 4″ diamonds for the next border. I again surrounded the diamond border with a strip of the colored fabric.

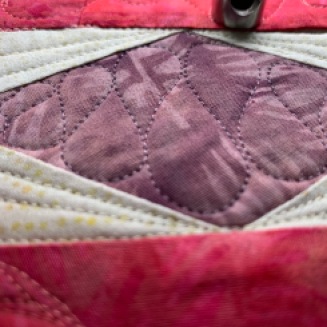
For the last border I used leftover strips from the Lemoyne Star that I used for the center of the quilt. By putting 2 quarters together, I got straight rows and could go around the corner using 3 quarters of the Lemoyne Star. I love the versatility of this block.
After adding a final border strip the ending size of the quilt was 39″ x 39″:

I pieced and quilted using Aurifil thread and Schmetz needles.
I had a lot of fun with the quilting – always one of my favorite parts – using some rulers and free motion work.
Finally, I added a flange to the binding. I sewed a 1 1/2″ colored strip to a 1 1/4″ binding strip. After pressing I used wonder clips to hold in place and sew to the back of my quilt, opposite of what you would normally do. Next I brought the binding to the front and sewed it down with an edge stitch foot (#10 on a Bernina).
This will be a great little table topper . I hope you enjoyed this project. Stay safe, stay home, stay creative.


I love it! So many beautiful borders!
LikeLiked by 1 person
What a lovely quilt!
LikeLiked by 1 person
So beautiful! It looks wonderful on your table by the window.
LikeLiked by 1 person
Wow, this is beautiful! The Lemoyne stars look great, and I love the partial stars as border! Whispering Feathers is beautiful; it’s one of my favorite collections right now!
LikeLike